O
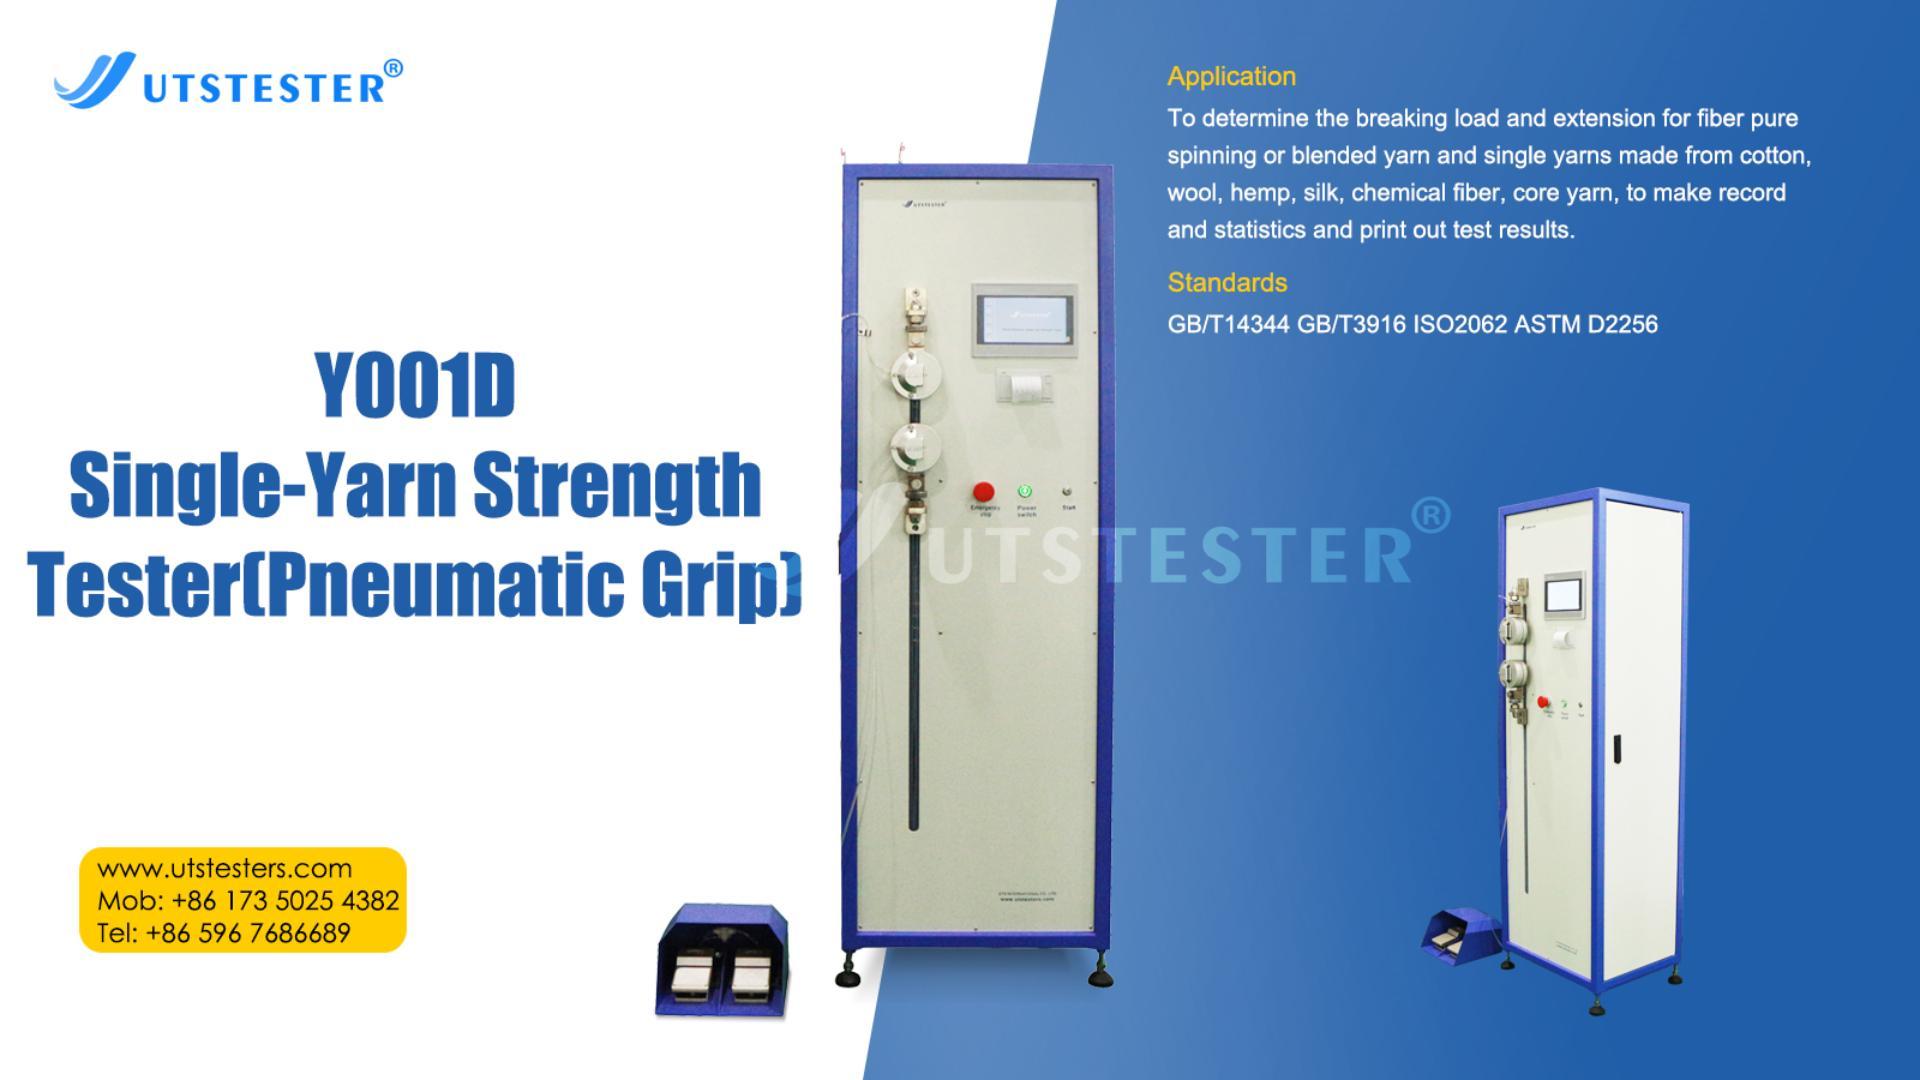
testador pneumático de resistência de fios
É usado principalmente para testar a resistência à ruptura e o alongamento do fio. A operação deve ser rigorosa para garantir a precisão dos dados. A seguir, instruções detalhadas e precauções:
I. Etapas da operação
1. Preparação
Inspeção do equipamento: Confirme se a fonte de pressão de ar está estável (geralmente é necessário 0,4-0,6 MPa), não há vazamentos nas conexões do tubo de ar e se as braçadeiras não estão gastas.
Calibração: Use pesos padrão ou calibradores para calibrar o sensor de força e o dispositivo de alongamento (recomenda-se realizar essa calibração antes de ligar a máquina todos os dias).
Amostragem de fio: corte uma amostra de fio de um comprimento especificado (geralmente 500 mm) de acordo com o padrão (como GB/T 3916) para evitar torções ou danos.
2. Fixação da amostra
Seleção de grampo: Escolha um grampo plano ou um grampo de cabrestante de acordo com a espessura do fio para evitar deslizamento ou fixação.
Método de fixação:
(1) Coloque ambas as pontas do fio verticalmente nas pinças superior e inferior para garantir que não haja folga ou pré-tensão.
(2) Após a fixação, verifique se o fio está centralizado para evitar que a deflexão afete os resultados do teste.
Pré-tensão: O fio elástico precisa ser submetido a uma tensão inicial (como 0,5 cN/tex), que pode ser definida com um grampo de tensão ou software.
3. Configuração de parâmetros
Modo de teste: Selecione "alongamento de velocidade constante" (geralmente 100-500 mm/min) ou "alongamento constante".
Condições de teste: Defina o comprimento do medidor (geralmente 250 mm ou 500 mm), a velocidade de alongamento e o número de testes (≥10 vezes, calculando a média).
Ajuste da fonte de ar: ajuste a pressão do ar para a faixa necessária do equipamento (como 0,5 MPa) por meio da válvula redutora de pressão.
4. Inicie o teste
Clique no botão "Iniciar" e o dispositivo estica automaticamente o fio até que ele se rompa.
Observe o processo de quebra do fio em tempo real. Se houver deslizamento ou fixação anormal, pause e recarregue a amostra imediatamente.
5. Registro de dados
O instrumento registra automaticamente a resistência à ruptura (cN ou N), alongamento de ruptura (%), curva tempo-resistência, etc.
Indique as condições de teste (temperatura e umidade, velocidade de alongamento, etc.) ao exportar dados.
6. Fim da limpeza
Desligue a fonte de ar e libere a pressão de ar residual.
Limpe o dispositivo para evitar que resíduos de fibras afetem o próximo teste.
II. Precauções
1. Operação segura
Não toque nas peças móveis durante o teste para evitar beliscões.
O equipamento irá parar quando houver uma falha repentina de gás e precisar ser reiniciado manualmente.
2. Precisão dos dados
Teste a mesma amostra pelo menos 10 vezes e elimine valores anormais (como desvio de ±20% da média).
A temperatura e a umidade do laboratório devem atender aos padrões (como 20±2℃, 65±3%UR).
3. Pontos de manutenção
Verifique o envelhecimento do tubo de ar semanalmente e lubrifique o trilho-guia regularmente.
O sensor deve evitar choque de sobrecarga e o ciclo de calibração não deve exceder 3 meses.
III. Resolução de Problemas Comuns
Deslizamento do fio: substitua o grampo antiderrapante ou aumente a área de fixação.
Os resultados variam muito: verifique a uniformidade do fio ou o alinhamento da braçadeira.
O dispositivo não responde: confirme se a pressão do ar atende ao padrão e reinicie o sistema de controle.
Por meio de operação padronizada e manutenção regular, os resultados dos testes podem ser garantidos como confiáveis. Os detalhes podem variar ligeiramente entre os modelos. Recomenda-se consultar o manual do equipamento específico.
E-mail:
hello@utstesters.com
Direto: + 86 152 6060 5085
Telefone: +86-596-7686689
Rede:
www.utstesters.com


 +86 152 6060 5085
 English
 русский
 español
 português
 العربية
 Polski


 hello@utstesters.com
 hello@utstesters.com
 +86 152 6060 5085
 +8615260605085