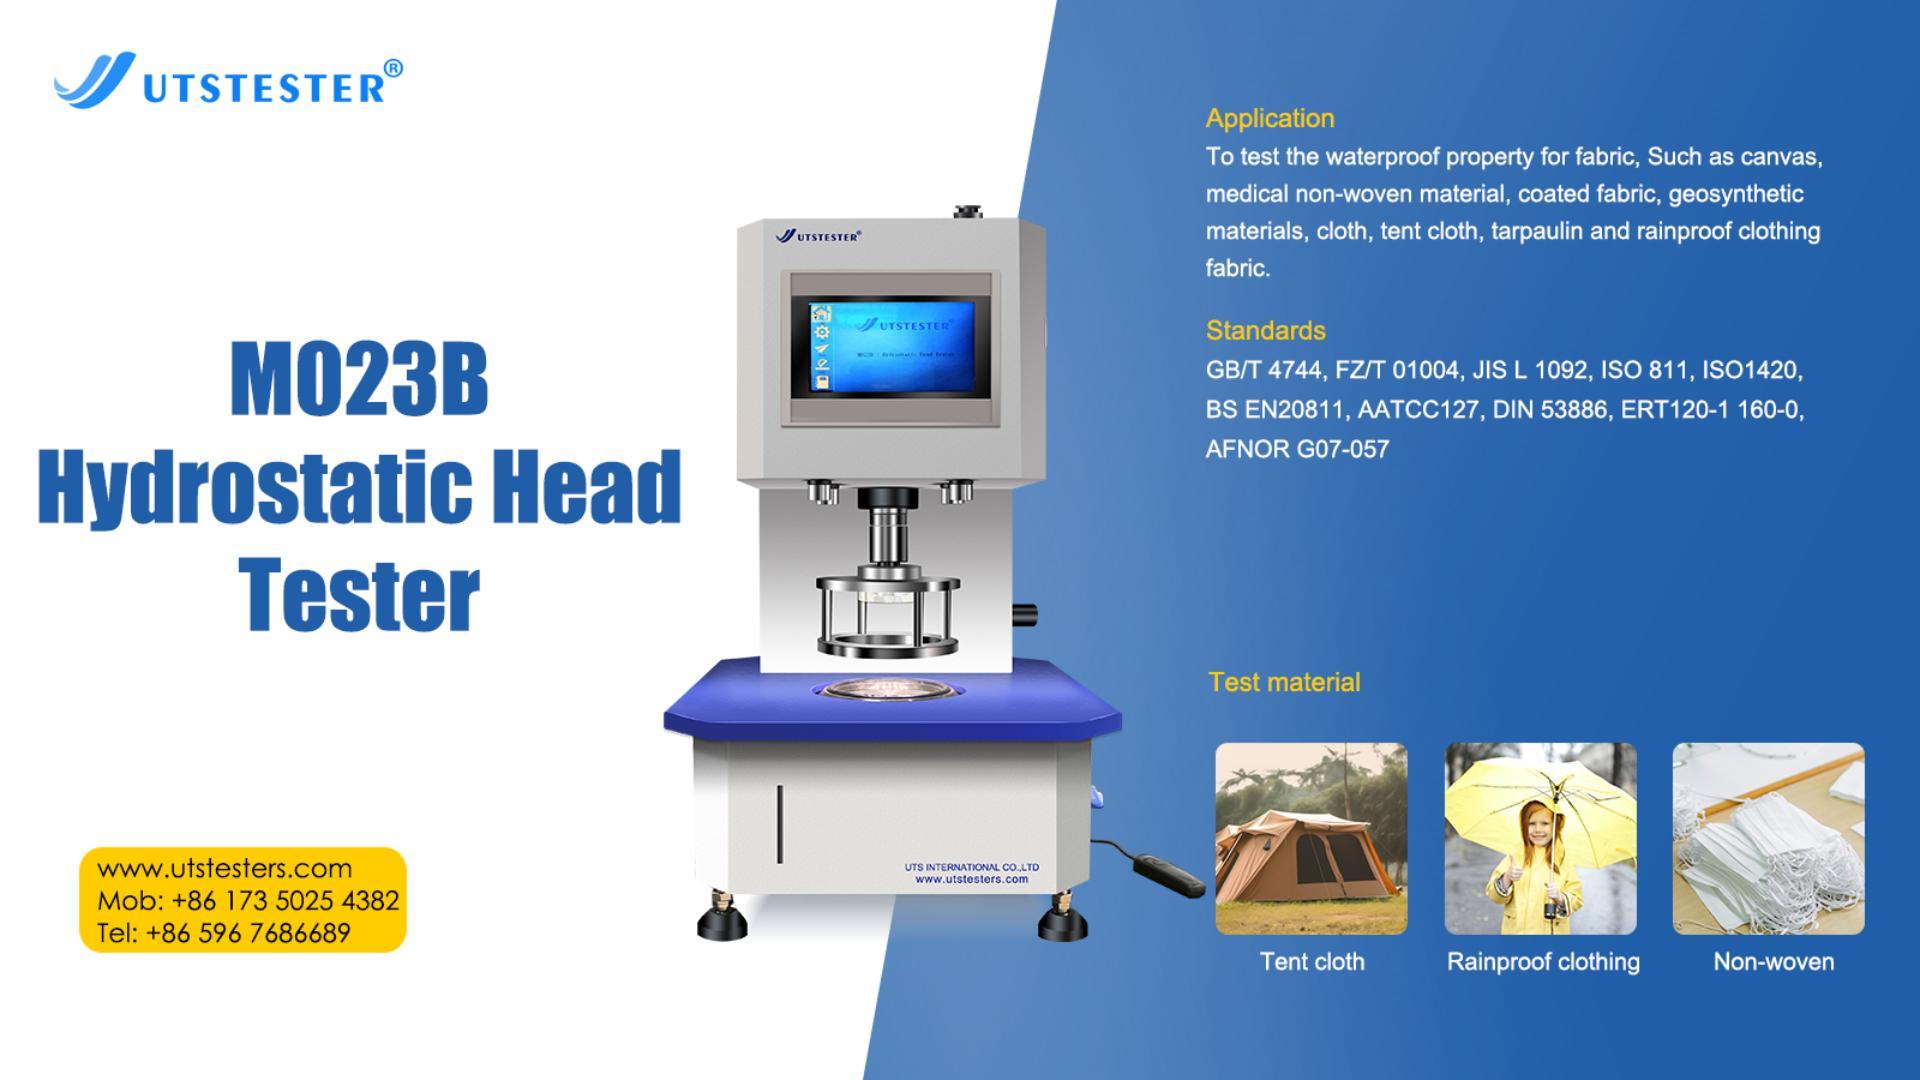
The hydrostatic pressure tester is suitable for testing the water permeability performance of various fabrics and non-woven products that have been waterproofed, such as canvas, geotechnical materials, tent cloth and other materials. It is also called the fabric hydrostatic pressure tester and fabric water permeability. Tester, hydrostatic pressure tester, hydrostatic pressure testing machine, etc. Below, we briefly introduce the use method and precautions of the hydrostatic pressure tester for the convenience of our friends.
A. How to use the hydrostatic pressure tester:
When using a hydrostatic pressure tester for testing, please follow the instructions for use and fully understand the test methods, standards and requirements in order to conduct the test correctly.
1. Inject about 1200ml distilled water into the water tank of the test device.
2. Adjust the movable feet of the test device to keep the platform of the test device level.
3. Insert the pressure sensor, water level control, and electromagnetic pump plug of the test device into the socket behind the controller.
4. First insert the three-core plug of the power cord into the power socket on the rear panel of the controller, and then connect the power plug to the 220V power supply.
5. Turn on the power switch, turn on the power, and the "Ready" indicator light will light up.
6. Rate selection: The boost rate can be selected according to standards or customized settings.
7. Turn the rotating handle of the test device left to make the triangular cover of the cloth press rise. After leveling the sample, turn the handle right to lower the triangular cover of the cloth and clamp the cloth sample.
8. Close the water drain valve on the test device.
9. Press the [Start] button, the "Work" indicator light turns on, and when the sample and the test hole are sealed, the test hole gradually builds up water pressure, and the hydrostatic pressure on the sample is displayed by the digital tube.
10. The ISO 811 assessment method stipulates that when the third water droplet appears on the sample, press the [Stop] button, the instrument returns to the "ready" state, the digital tube display value is latched, and the latched display value That is the test result.
11. Record the test results and open the water valve. The distilled water in the test hole is returned to the water tank.
12. Press the [Reset] button to release the latched display value and reset the instrument program.
13. Remove the sample and proceed to the next test.
B. Precautions when using the hydrostatic pressure tester:
1. When conducting tests under general atmospheric conditions, excessive changes in temperature and humidity of the test site should be avoided.
2. The test water must be distilled water and replaced frequently.
3. Quando o instrumento está funcionando pressionando o botão [Iniciar], além de interromper o teste, o botão [Parar] não pode ser pressionado durante o teste, caso contrário o teste deverá ser reiniciado.
4. Durante o teste, para eliminar o ar do orifício de teste, a água fica em contato direto com o pano. Antes do teste, encha o orifício de teste com água (feche a válvula de drenagem e pressione o botão [Iniciar]. Depois que o orifício de teste estiver cheio com água, pressione o botão [Parar], pressione o botão [Reiniciar]) e depois coloque o amostra de tecido para teste.
5. A norma indica que os resultados obtidos em diferentes taxas podem ser diferentes, portanto a taxa selecionada deve ser indicada no relatório de teste. Recomenda-se que quando a resistência à pressão da água da amostra de tecido for baixa, a velocidade de 10 cmH20 seja usada. Quando a resistência à pressão da água da amostra de tecido é alta, deve-se usar a velocidade de 60 cmH20. Se você não conhece a resistência à pressão da água da amostra de tecido, você pode usar primeiro a velocidade de 100 cmH20 para um teste preliminar. Depois de compreender o valor de resistência à pressão da água da amostra de tecido, teste na taxa padrão. 6. Se o instrumento não for usado por um longo período de tempo, a água do tanque de água deve ser drenada, use um objeto de metal (como uma chave de fenda) para curto-circuitar o eletrodo de nível de água e o invólucro do tanque de água, e ligue o instrumento para deixar a pressão esvaziar por 10 segundos para drenar a água.
7. Quando a tecla de operação pressionada for válida, você ouvirá um som de resposta de “bipe”. Caso contrário, as teclas serão inválidas (quando operadas fora de sequência).
8. Quando o nível da água for inferior ao nível do eletrodo: a campainha emitirá um sinal sonoro longo até que a água seja adicionada a um nível suficiente. Neste momento, todas as chaves são inválidas. (proteger a bomba eletromagnética)
9. Quando a pressão da água atingir o valor máximo: o sinal sonoro soará "beep...beep..." e terminará após alguns segundos. Neste momento, o instrumento está no estado [Stop].
10. Durante o teste, se você ouvir um rápido "bipe" da campainha, o processo de teste será encerrado automaticamente. Isso significa que a água não é liberada o suficiente e o descascamento automático é demais, fazendo com que o sensor ultrapasse a faixa (proteja o sensor).

E-mail: hello@uttesters.com
Direto: + 86 152 6060 5085
Tel: +86-596-7686689
Site: www.utstesters.com
 +86 152 6060 5085


 English
 русский
 español
 português


 hello@utstesters.com
 hello@utstesters.com
 +86 152 6060 5085
 +8615260605085